Monday, July 27, 2009

*Whew* for some reason it’s just been a crazy couple weeks for me. With my work schedule I can only cook supper Friday, Saturday, or Sunday. Well, we’ve either been out of town, or really busy on those nights. When I have cooked, it’s been something simple like chicken with a bottled marinade, or a seasoning blend, along with steamed or roasted veggies. Always delicious, but not quite blog-worthy!
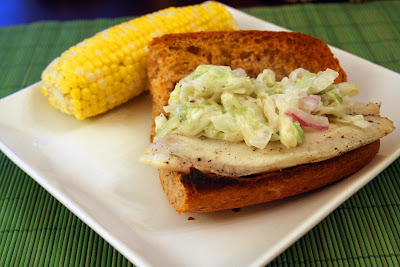
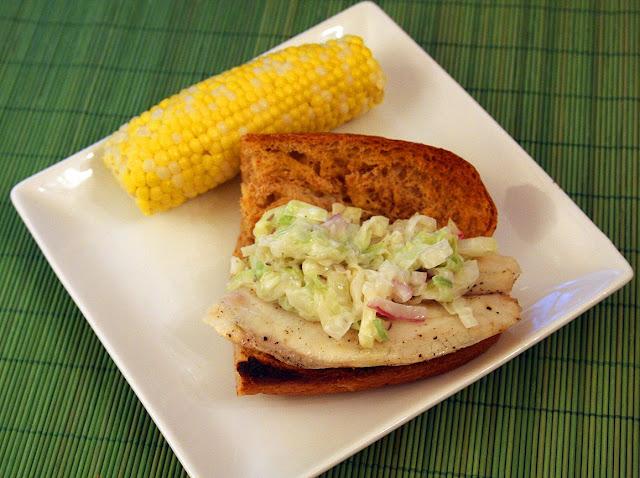
So when things called down a bit, I knew I wanted to finally try out a recipe I’d been eying in my most recent issue of Martha Stewart’s Everyday Food. This was a simple, summer meal of grilled fish with slaw on top. I was happy to find a tasty way to incorporate the cabbage I received in my CSA share into a main dish. All the components, including the great wheat rolls I chose, really complimented each other. The Boy isn’t even a big fan of slaw, but he liked the sandwich. I really liked how easy it was to prepare. If you had some leftover slaw from a cookout, this would be even easier to whip up.

Print
Grilled Fish Sandwich with Cabbage Slaw
Ingredients:
4 cups shredded green cabbage (from head cabbage)
Coarse salt and ground pepper
1 celery stalk, thinly sliced
1/2 small red onion, thinly sliced
3 tablespoons mayonnaise
1 tablespoon red-wine vinegar
1/4 teaspoon caraway seed
Vegetable oil, for grilling
4 striped tilapia (or other firm-fleshed fish, such as tuna, bass fillets, or salmon), 4 to 6 ounces each
2 wheat sandwich rolls, halved, and sliced lengthwise
Directions:
In a bowl, toss cabbage with 2 teaspoons salt; let stand 20 minutes. Press between layers of paper towels to remove excess liquid. Toss cabbage in a clean bowl with celery, onion, mayonnaise, vinegar, and caraway seed and season with pepper.
Heat grill to medium-high. Clean and lightly oil hot grates. Pat fish dry with paper towels; season with salt and pepper and brush with oil. Grill fish on one side until opaque at edges, 2 to 4 minutes. Using a thin spatula, flip fish and cook until opaque throughout, 1 to 5 minutes. Transfer to a plate.
Clean and lightly oil hot grates; grill bread until lightly toasted, 5 to 10 seconds per side. Assemble sandwiches with fish and cabbage slaw.
**Patting the fish dry with paper towels is crucial for preventing it from sticking to the grill. Always use a wide spatula to move the fish (never tongs or a grilling fork) and turn the fillets only once.**
Per Serving: 420 calories; 10.7g fat (2g sat fat); 41.8g protein; 40.7g carbs; 8.5g fiber
Thursday, July 23, 2009

I can’t believe I waited so LONG to give you this recipe! I made this ice cream back in JUNE. I took all these pictures, I ate a bunch of it, I share it with some good friends, and just never got around to posting it. The problem comes back to, my major indecisiveness. I took a TON of pictures, way too many! I couldn’t decide which ones to use, they all were too similar. I kept putting it off. The only reason I kicked myself into gear now is, I have another ice cream recipe to post!
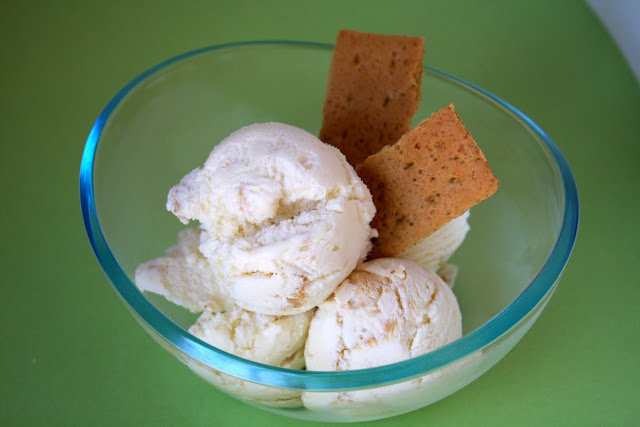
This was the first eggless ice cream I made. And while the flavor was divinely yummy, it was tart and sweet, with the little crunch of graham cracker, it didn’t have the same richness that an egg-based ice cream has (it also doesn’t have as much fat)! I think I prefer the rich texture of an ice cream made with egg yolks, but I still recommend this, as it was a refreshing taste of summer. It’s got all the flavor of key lime pie, in ice cream form. If, like me, you have a hard time locating the key lime juice, check the aisle with the cocktail mixers, as well as the juice aisle. Depending on your grocer, those are the most likely places you’ll find it.

Print
Key Lime Pie Ice Cream
Ingredients:
1 1/2 cups 2% reduced-fat milk
1/2 cup bottled Key lime juice (such as Nellie and Joe's)
1/2 cup whipping cream
Dash of salt
1 (14-ounce) can fat-free sweetened condensed milk
6 graham crackers (1 1/2 cookie sheets), coarsely crushed, divided
Key lime wedges (optional)
Directions:
Combine first 5 ingredients, stirring with a whisk. Pour mixture into freezer can of an ice-cream freezer, and freeze according to manufacturer's instructions. Stir 1/3 cup graham crackers into ice cream. Spoon ice cream into a freezer-safe container, and cover and freeze for 1 hour or until firm. Sprinkle each serving with 1 teaspoon graham crackers. Garnish with lime wedges, if desired.
Yield 6 servings (3/4 cup)
Calories: 317; Fat: 9.5g (sat 5.3g,mono 2.7g,poly 0.3g); Protein: 8.8g; Carbohydrate: 50.3g; Fiber: 0.1g; Cholesterol: 36mg; Iron: 0.4mg; Sodium: 190mg; Calcium: 275mg
Friday, July 17, 2009
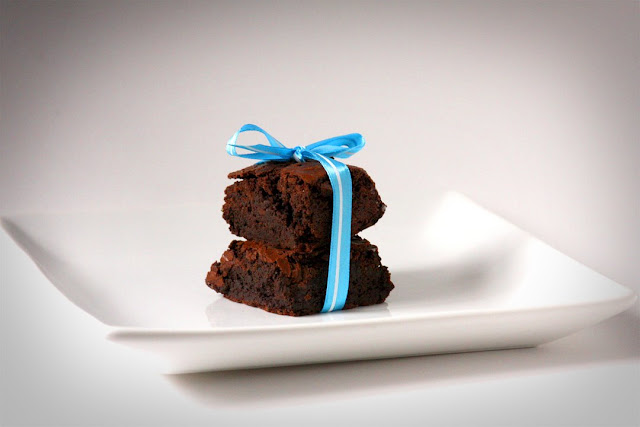
 Recently our nephew came to stay the weekend. This only happens once a year because he lives in Orlando. 🙁 I asked him if he wanted to make some cookies, and he suggested brownies! I have a lighter brownie recipe, and a brownie with peanut butter chips in my blog already, but I knew I wanted to try something new. With just a quick look in my Martha Stewart Cookies book, I found the perfect recipe.
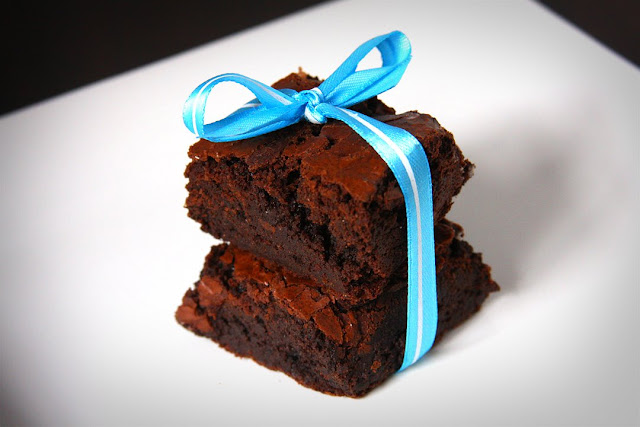
These brownies are everything a brownie should be, chocolatey, rich, moist, and delicious. When The Boy got home from work and we offered him a brownie, the first thing he asked was “Is it cakey or fudgey?”. The Boy and I are both fans of the fudgy brownie variation. These aren’t the fudgiest of all brownies but they’re definitely not cakey, they lie in the middle between cakey & fudgy. So if you’re looking to appeal to brownie lovers of all kinds, this is the recipe for you. They are still soft & melt in your mouth, but stand up well. If you don’t have a handy little helper like I did to help whip these up, don’t worry, they are still quick and easy to make!
Print
Double Chocolate Brownies
Ingredients:
6 tablespoons unsalted butter, plus more for pan
6 ounces coarsely chopped good-quality semisweet chocolate
1/4 cup unsweetened cocoa powder (not Dutch-process)
3/4 cup all-purpose flour
1/4 teaspoon baking powder
1/4 teaspoon salt
1 cup sugar
2 large eggs
2 teaspoons pure vanilla extract
Directions:
Preheat oven to 350 degrees. Line a buttered 8-inch square baking pan with foil or parchment paper, allowing 2 inches to hang over sides. Butter lining (excluding overhang); set pan aside.
Put butter, chocolate, and cocoa in a heatproof medium bowl set over a pan of simmering water; stir until butter and chocolate are melted. Let cool slightly.
Whisk together flour, baking powder, and salt in a separate bowl; set aside.
Put sugar, eggs, and vanilla in the bowl of an electric mixer fitted with the whisk attachment, and beat on medium speed until pale, about 4 minutes. Add chocolate mixture; beat until combined. Add flour mixture; beat, scraping down sides of bowl, until well incorporated.
Pour batter into prepared pan; smooth top with a rubber spatula. Bake until a cake tester inserted into brownies (avoid center and edges) comes out with a few crumbs but is not wet, about 35 minutes. Let cool slightly in pan, about 15 minutes. Lift out brownies; let cool completely on a wire rack before cutting into squares.
Tuesday, July 14, 2009

I am the procrastinator of all procrastinators. I keep thinking how much I’d love to make homemade granola. Once, I even wrote a list of “Things to Do Over The Weekend“, in which I included “make homemade granola“. But, in true procrastination, I never have. I guess one of the reasons I’ve yet to make granola is, while a lot of recipes appealed to me, none really SPOKE to me…until now.
I like to read the NYTimes Dining & Wine guide on my iPhone while laying in bed, before falling asleep. So when I saw the recipe for this granola made with olive oil, touted as being a sweet & salty snack, I knew immediately, the procrastination must cease! I love olive oil, and I do 95% of my cooking with it. It’s heart healthy, and I’ve grown to love the flavor.
Luckily I had enough ingredients on hand to customize this granola to my liking. I didn’t have much maple syrup, so I added in some honey, and I only had about 2 cups of oats, so I scaled down the recipe from the original. That’s an advantage of granola, you can add the ingredients and amounts YOU choose to suit your liking. This was very quick and simple to prepare, once I hulled the pistachios. I can’t wait to go to the grocery to restock my oatmeal & maple syrup, because I am sure I’ll be making more of this addictive snack very soon!
PS. Katie, my Louisville-Lady, YOU MUST TRY THIS. NOW. You would love it!

Print
Olive Oil Granola with Pistachios, Sunflower Seeds, & Dried Cherries
Ingredients:
2 cups old-fashioned rolled oats
1 cups raw pistachios, hulled & coarsely chopped
1/2 raw sunflower seeds, hulled
1/2 cup coconut flakes
1/4 cup pure maple syrup
1/4 cup honey
1/4 cup extra virgin olive oil
1/4 cup packed light brown sugar
1/2 teaspoon + 1/4 teaspoon kosher salt
1/4 teaspoon ground cinnamon (freshly ground is amazing)
1/4 teaspoon ground cardamom
1/2 cup chopped dried cherries and/or raisins
Directions:
Preheat oven to 300 degrees. In a large bowl, combine oats, pistachios, sunflower seeds, coconut flakes, maple syrup, honey, olive oil, brown sugar, salt, cinnamon and cardamom. Spread mixture on a rimmed baking sheet in an even layer and bake for 45 minutes, stirring every 10 minutes, until golden brown and well toasted.
Transfer granola to a large bowl and add dried cherries/raisins, tossing to combine. Serve atop greek yogurt, fresh ricotta, or anything you'd like.
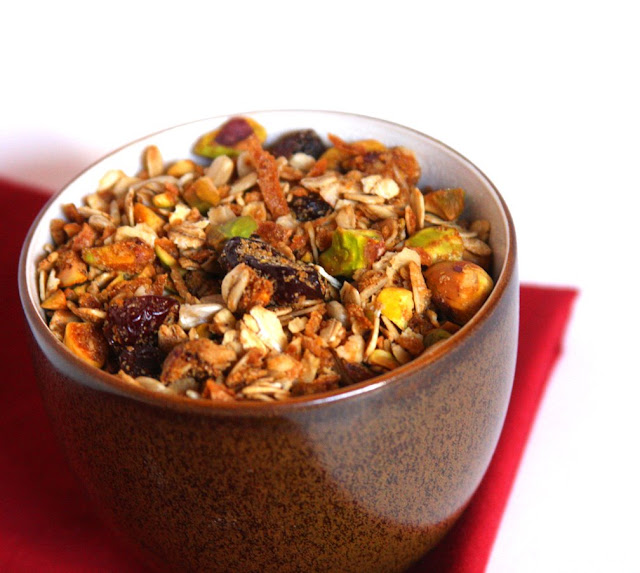
Admit it. You want to lick the screen and see if any granola sticks to it.


