Monday, February 9, 2009
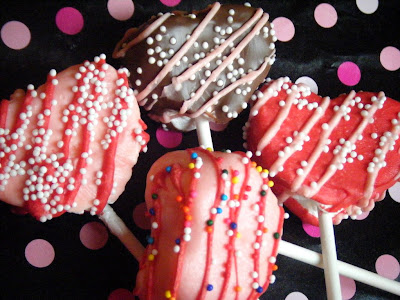
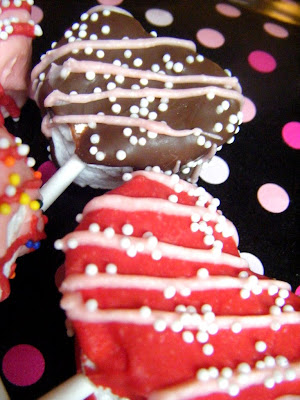
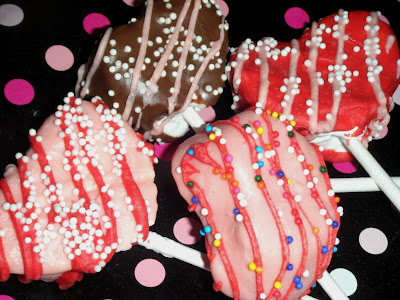
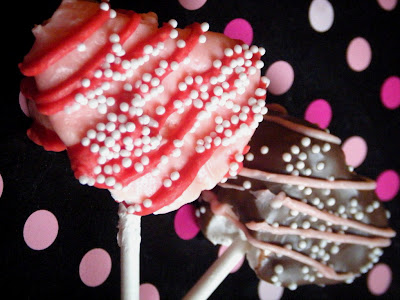
Candy Covered Marshmallow Hearts
I rarely say things as syrupy sweet as this, but I “big pink puffy heart” homemade marshmallows. They are just SO simple to make (as long as you don’t get all crazy and decide to cut them into heart shapes, but who would do that? Oh wait, that’s me). These homemade goodies are squishy & fluffy and oh-so yummy. I’ve made them twice before on my blog. The first time for s’mores for a camping trip, the second time for Christmas goodie bags. I used two different recipes in the past.
While both recipes produced yummy marshmallows, I thought I had declared #2 the winner. Then I got some insight from one of my best friends who got to try both varieties, she told me her opinion on the differences. My annoyance with the first recipe was that it called for the Knox gelatin in Tablespoons. I liked that the second recipe called for a number of packets. BUT… after more intense consideration Katie pointed out that the second recipe sort of melts in your mouth more so than the first recipe. Almost similar to divinity, except squishy. The first recipe seemed closer to mass produced marshmallows according to her. SO… when I got this CRAZY idea to make heart shaped marshmallows dipped in chocolate, I decided to try ANOTHER recipe. I turned to a trusted recipe source: MarthaStewart.com. *sigh* I never thought I’d jump on the Martha bandwagon, but her Cookie Book won me over. And, yet again, she did not fail me. I THINK…this recipe will be my final. Now, I haven’t gotten my marshmallow expert, Katie’s opinion yet (I’ve got to mail her marshmallows, let’s hope they survive), but I think this recipe combines the perfect texture of marshmallows. It’s squishy & soft, but not melt in your melt like divinity. This recipe also makes at least a 1/3 more than the previous recipe. My 13×9 pan was filled MUCH higher. SO, next time I make these I might pour it into two pans, or just do one again and keep them really thick! Another thing I liked about this recipe, is that the vanilla flavoring isn’t too overpowering. These don’t have a strong taste.
When cutting these into heart shapes, I actually cut through it, then cut that heart in half. It was insanely thick. This took FOREVER. Literally. I think from now on I’ll stick to using a pizza cutter, because it’s super fast. No more cookie cutters! Whew! After every cut I would wipe down the cutter & knife with a paper towel that had been dabbed in canola oil. Also, because I made 50+ marshmallows, the dipping took FOREVER as well. Yikes. Good thing The Boy was out of town this weekend, I had no desire or energy to cook on Sunday after doing all this.
I’ve taken Martha’s recipe, and arranged it in the way that works best for me, as well as added some tips I learned from my previous two recipes. Again, I STRONGLY suggest you only attempt this with a stand mixer. It requires beating for at least 12 minutes, and also beating while pouring in the boiling hot syrup.
Candy Coated Marshmallow Hearts
adapted from Martha Stewart
Ingredients:
Marshmallows:
4 envelopes unflavored gelatin (3 tablespoons plus 1 1/2 teaspoons)
3 cups granulated sugar
1 1/4 cups light corn syrup
1/4 teaspoon salt
2 teaspoons pure vanilla extract
confectioners sugar
cornstarch (optional, you can use just the confectioners sugar if you want)For the Candy Coating and Decorating:
sticks
almond bark or candy coating
nonpareils of choice
squeeze bottle purchased at candy/cake decorating storeDirections:
Marshmallows:
Put 3/4 cup cold water into the bowl of an electric mixer; sprinkle with gelatin. Let soften at least 5 minutes.Meanwhile, put granulated sugar, corn syrup, salt, and 3/4 cup water into a medium saucepan. Bring to a boil over high heat, stirring to dissolve sugar. Cook, without stirring, until mixture registers 238 degrees (soft ball stage) on a candy thermometer, about 9 minutes.
Attach bowl with gelatin to mixer fitted with the whisk attachment. With mixer on low speed, beat hot syrup into gelatin mixture. Gradually raise speed to high; beat until mixture is very stiff, about 12 minutes.
While mixer is beating take plastic wrap and line a 13x9 baking dish. Spray with non-stick spray.
Once the marshmallow has been mixing for 12 minutes, beat in vanilla. Pour into prepared dish, and smooth with an offset spatula. Take another sheet of plastic wrap, spray with non-stick spray, and flatten onto marshmallow (this is the only way I've ever been able to get the marshmallow completely flat). Set aside, until firm, about 3-4 hours, or overnight.
With wax paper or pastry mat underneath flip the pan over and remove it. Peel off what is now the top layer of plastic wrap. Use a long sharp knife, or pizza cutter (my preferred method), and gently wipe it with a paper towel dabbed in oil, or spray it with non-stick spray. Cut marshmallows into squares and toss in a bowl combined with equal amounts cornstarch & confectioners sugar. (I only add enough sugar & cornstarch as needed, as to not waste any. Then add more when necessary.) Kept in an airtight container, these will keep for at least a week.
Candy Coating:
After cutting marshmallows, place on stick. Melt almond bark or candy coating in double boiler or in a glass bowl over a pot of steaming water. (I've never tried the microwave method, as I just know I would fail.) Dip marshmallows in candy to coat as much as you want. I chose to stick my sticks into cardboard with holes (I would of preferred styrofoam, but I didn't have any), but some of the marshmallows would fall down their sticks. If this happens, just eat those, and continue on (kidding...). I found that the ones I had to rest on wax paper did not end up looking all that bad. If you choose to sprinkle on the nonpareils do so when coating is still wet. Also I found that if you sprinkle over a bowl or in my case an 8x8 pan, you can save all the nonpareils that don't land on the candy, and just pour it back in the bowl. If you're thrifty like me! 😀
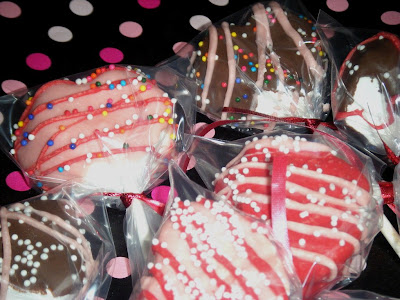
Packaged up and ready to go into both my & The Boy’s workplaces!


